Thursday, July 7, 2011

More Demo - by Holly

action shot:


 front door looking towards the back:


front parlor:


front parlor looking into dining room:


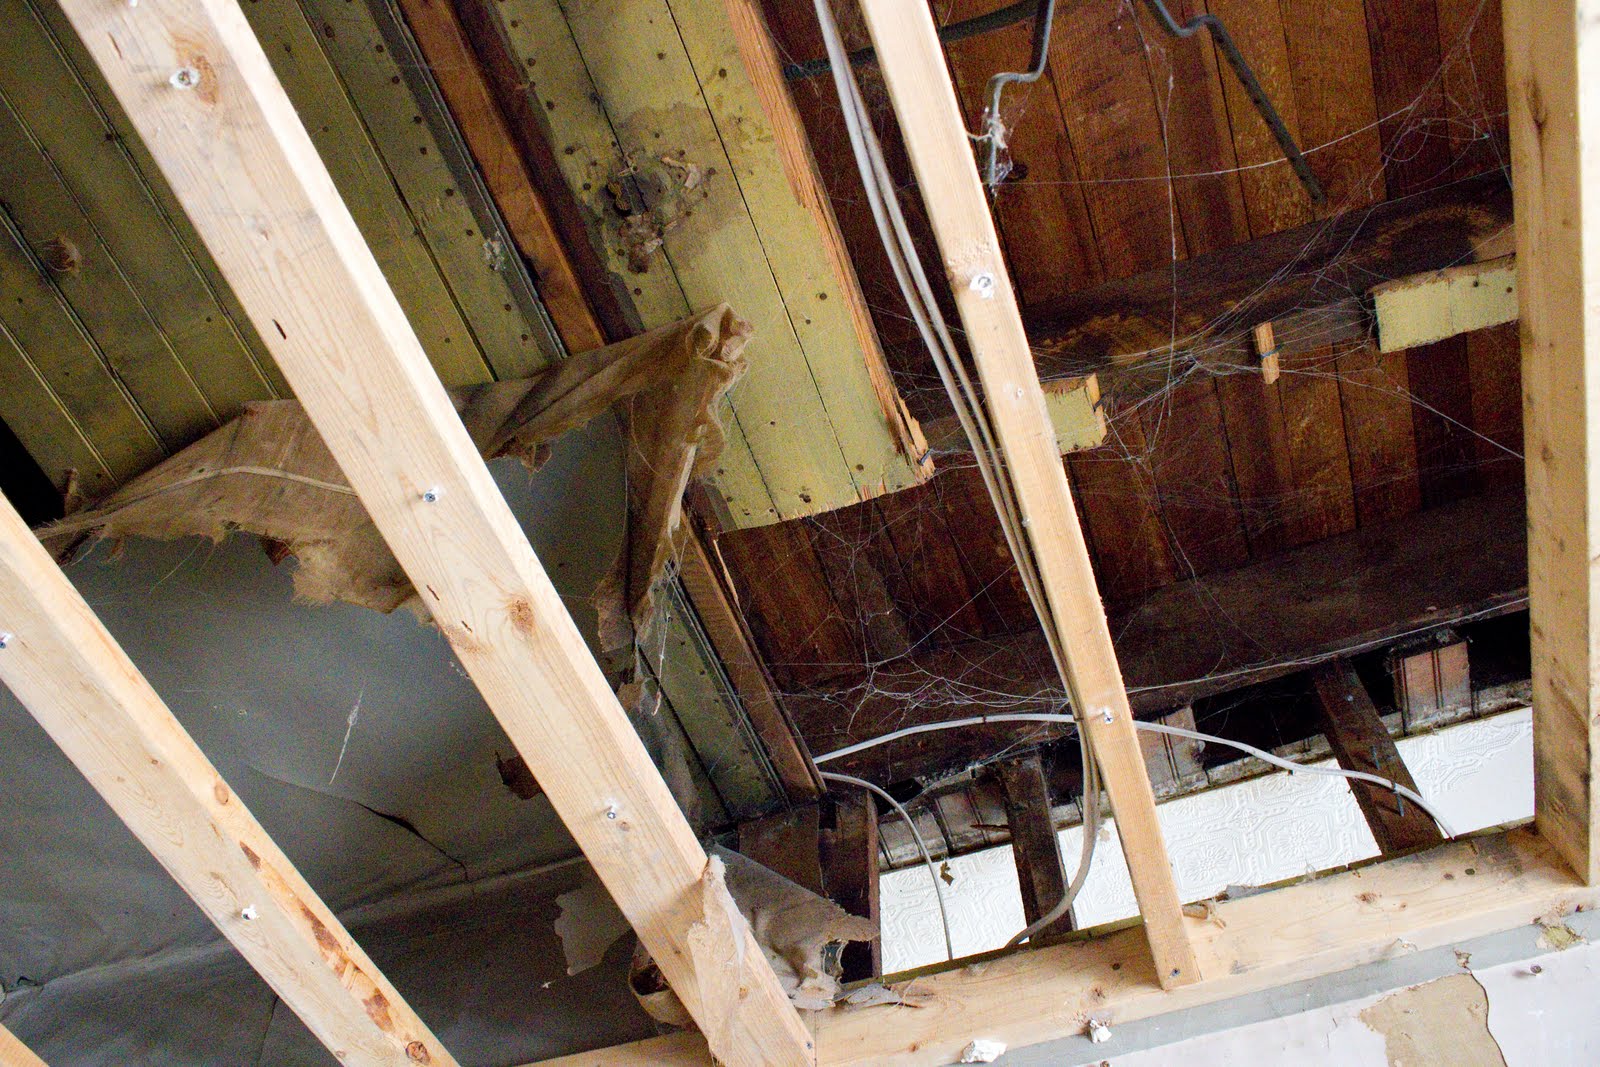
front hall looking up at the ceiling:


wall between front parlor and dining room, note the beadboard ceiling in both:


dining room:


dining room looking into front parlor:


butler's pantry which after today, was more likely a small side entrance/porch. doorway you see is not necessarily original:


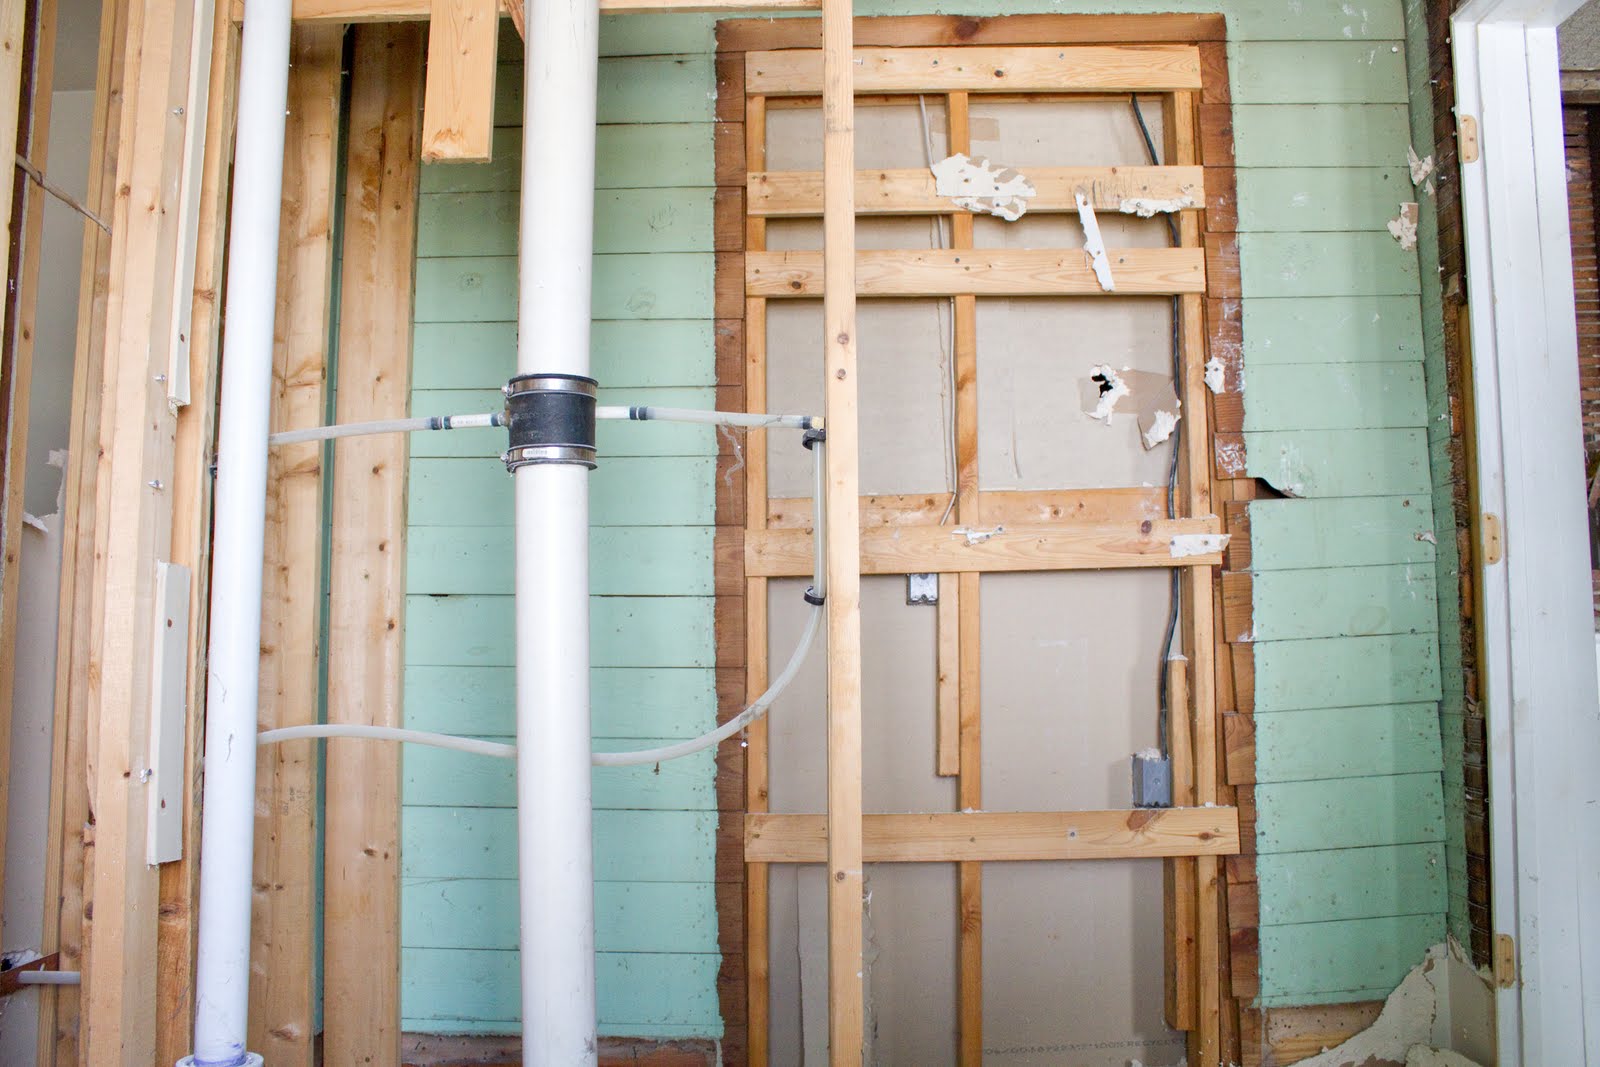


hall wall/ceiling behind the stairs:


study, note the framed doorway that used to lead inside from the side porch:


study looking into back addition:


kitchen:


(jumping around here) back addition looking into study:


back addition:


another shot from back addition looking into study:


more beadboard ceiling:


beadboard ceiling. middle is actual beadboard, to the right is wider and seems (to me) to match the wainscotting:


from back towards front:


 wall part of the butler's pantry/side porch mystery:


trim in dining room:


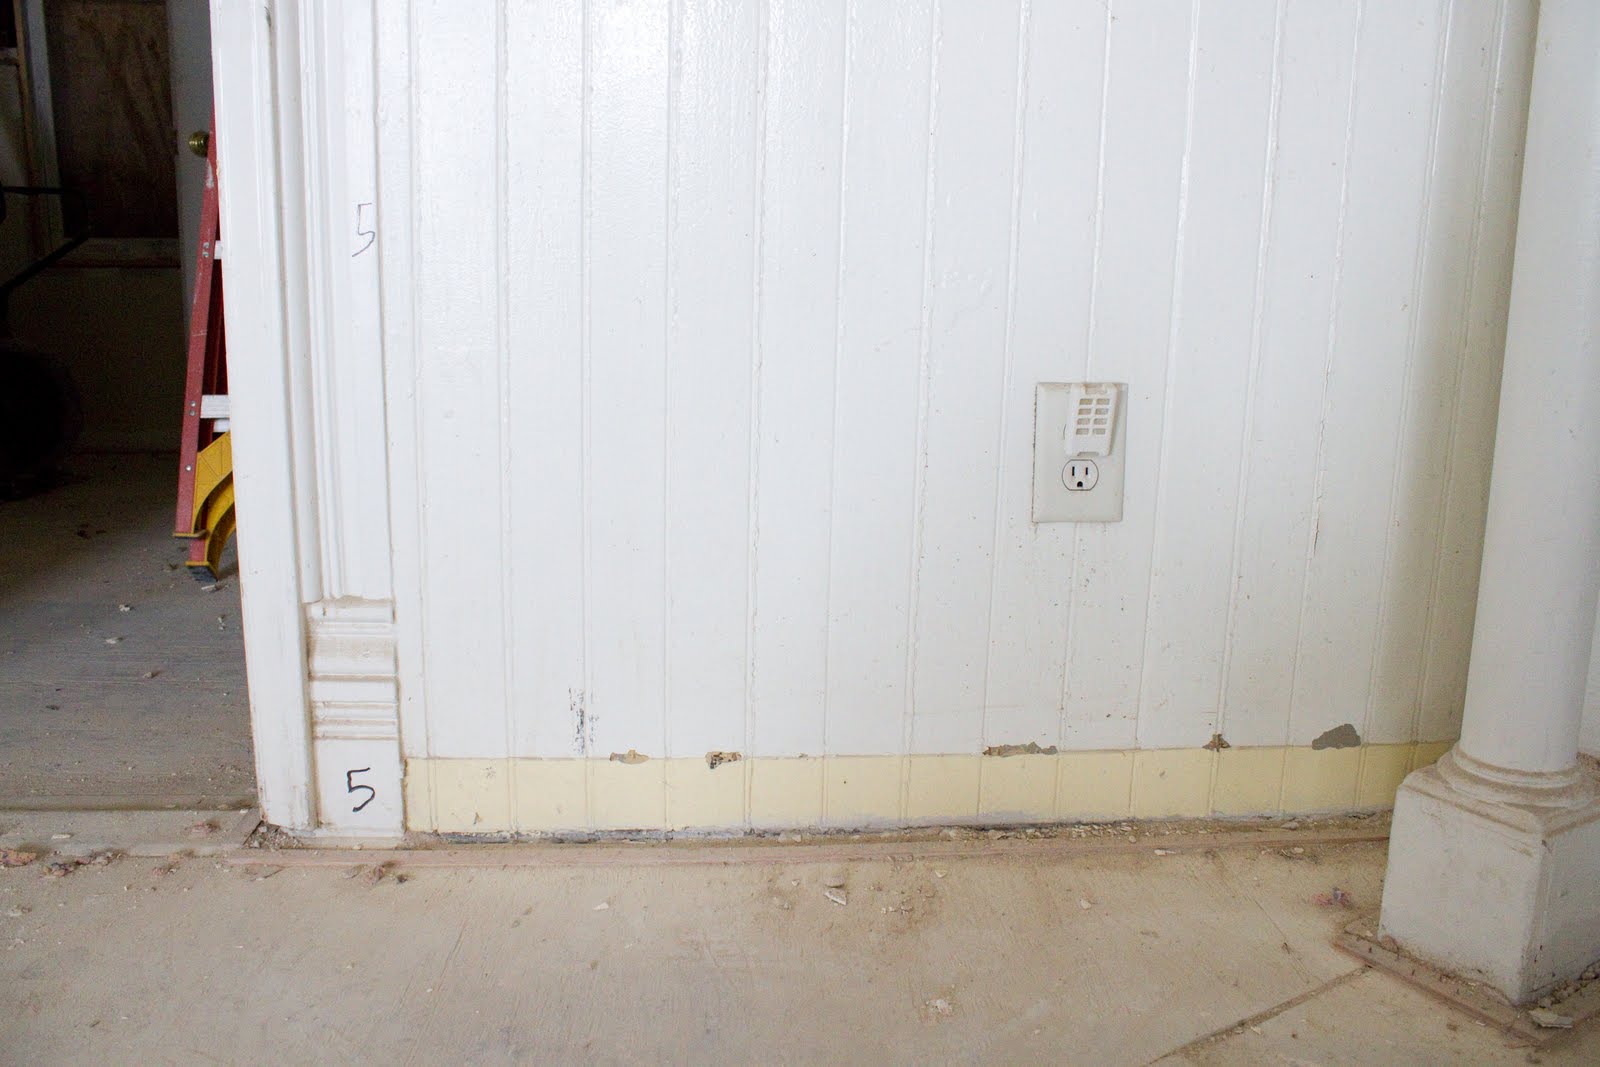
older color under white wainscotting:
Tuesday, July 5, 2011

At the end of the day... - by Holly

Noticeable demo done today! I met the crew and they seem great; we're in good hands.


This is the dining room. For now we are leaving the wainscotting although it will either be dipped for chemical removal of lead (and other) paint or we will replace with new. The horizontal boards are the lathe which is the structure under plaster.


This by the front door, looking towards the stairs (which are separated by a tongue and groove wall). It needs to come down in order to restore access between the first and second floors.


Ok, moving on, this is the front parlor. By the way, all the names of the room are what we think it was originally--not necessarily what they will be once we move in. This first photo shows the opening that existed originally and was later framed over/drywalled. We will be opening the parlor up to the dining room again.


 And behind the drywall on the ceiling was a beadboard ceiling, yay!


They started removing original/ish door trim that will get dipped.


Here's more of the butler's pantry and more of the green we discovered last week.


Evidence of pocket door in those 5' doorways?


A sheet (not plaster) of ceiling in the dining room.


Evidence of past paint colors--pink and green (just like the tile on the fireplace surround). 


Exterior wall with evidence the house used to be green (not yellow). We had seen one old picture of it with a greenish tint but I find the real deal!

Butterflies in my stomach - by Holly

This morning as I was driving to the house to drop off some papers to our contractor Todd, I felt butterflies in my stomach. It wasn't at all because I was worried or scared; it was because I knew today was officially Day 1 of our rehab (who, us?). Sure, Colin and I have been to the house a lot (especially lately) and we've already started tearing through walls and ripping out carpet, but now - NOW - the real work begins. As in it's REALLY happening. I'm so excited! For me it's like taking that step from the bungee platform. We've been "up there" setting everything up, getting it in place, and now it's time to jump! Some folks would be terrified, but for me it's exhilarating!

Here are some pics of the front parlor:


Saturday, July 2, 2011

The Shed - by Holly

This 4th of July weekend we are vacationing (ha) in our own backyard... building a shed. It's been a long couple of days and we still have more work ahead of us. Originally we thought some folks would come by to help but that didn't happen so it was just me and Colin (and a second ladder from our neighbor Chris!). Surprisingly it has gone well, just really slow and really hot.

Step 1: Choose a spot


Step 2: Receive delivery (2-3 hrs late)


Step 3: Build base


Step 4: Local food (Bull City Burger) and "shopping" (Durham's oldest hardware store)


Step 5: Lay skids


Step 6: Conquer floor


Step 7: Build walls and call it a day because you've been working for 12 hours

Step 8: Wash off dirt tan


Step 9: (the next day) Attach walls

Step 10: Assemble and attach rafters

Step 11: Lay roof

Step 12: Get some perspective on the first thing you've ever built--wow, it IS a shed!

Step 13: Attach doors, apply roofing felt and call it a day because it's been yet another 12 hour day


We still have to shingle, install the window, install decorative trim and paint (it will match the house--yellow). Finished product coming soon!